Frequently Asked Questions
Shortcodes to Display Cashback Report on website frontend
You can use shortcodes to display the cashback details to your user, on the front end of your website itself. Below shortcodes can be used to display specific cashback details of the user.
Bonus Earned by the user
On your website, the user can see the bonus that he/she has earned while shopping on your website.
Clicks Recorded by the user
On your website, the users can access the click report that was recorded via their ID
Overview of user’s cashback panel
The user can see a detailed overview report which would include Earning report, Withdrawal report and its status too.
Referral earned by the user
The user can check the referral amount that he/she has earned on your website.
Transaction recorded via user’s ID
The user can see a list of transactions that he/she has done on your website. This page can be linked to the browser extension, here's how - Sitewide Settings | ClipMyDeals Support
Withdrawal request status of the user
The user can check the status of his/her withdrawal requests on your website. This page can be linked to the browser extension, here's how - Sitewide Settings | ClipMyDeals Support
You can also create pages with the help of page templates available to you by following the below steps
Bonus Earned by the user
On your website, the user can see the bonus that he/she has earned while shopping on your website.Example: [cmd_cashback_bonuses]
Clicks Recorded by the user
On your website, the users can access the click report that was recorded via their IDExample: [cmd_cashback_clicks]
Overview of user’s cashback panel
The user can see a detailed overview report which would include Earning report, Withdrawal report and its status too.Example: [cmd_cashback_overview]
Referral earned by the user
The user can check the referral amount that he/she has earned on your website.Example: [cmd_cashback_referral]
Transaction recorded via user’s ID
The user can see a list of transactions that he/she has done on your website. This page can be linked to the browser extension, here's how - Sitewide Settings | ClipMyDeals SupportExample: [cmd_cashback_transactions]
Withdrawal request status of the user
The user can check the status of his/her withdrawal requests on your website. This page can be linked to the browser extension, here's how - Sitewide Settings | ClipMyDeals SupportExample: [cmd_cashback_withdrawals]
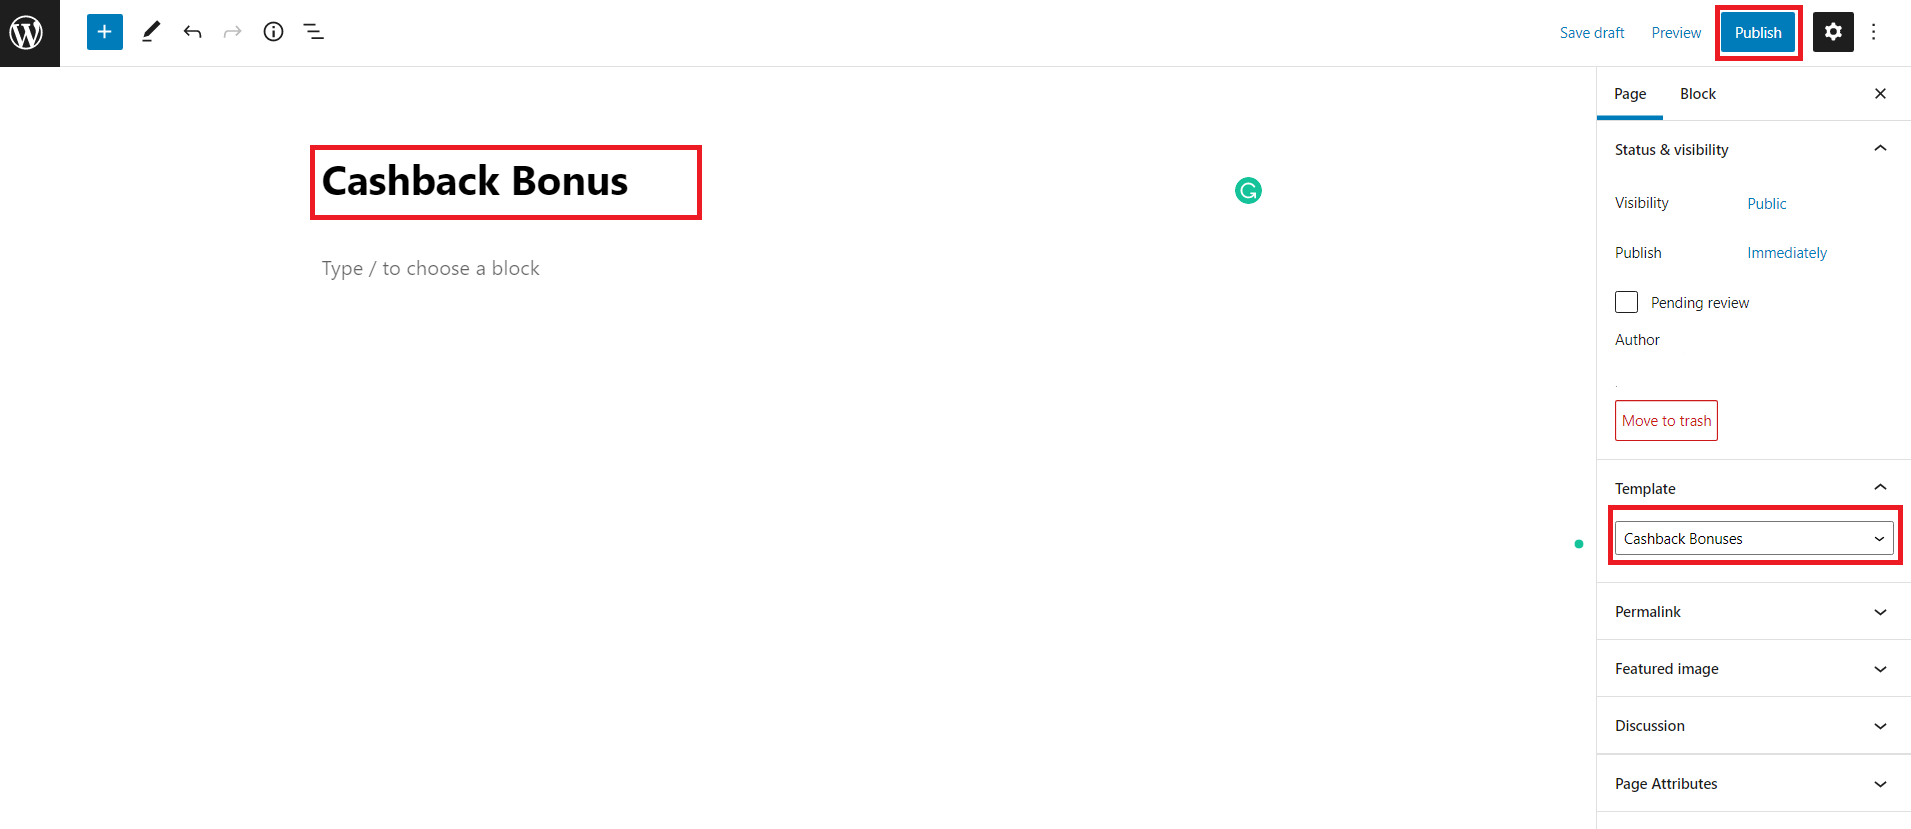
You can also create pages with the help of page templates available to you by following the below steps
- Login to your WordPress Admin Panel
- Pages > New
- Give a suitable title to the page
- Select any template among the following
- Cashback Bonuses
- Cashback Clicks
- Cashback Overview
- Cashback Referral
- Cashback Transactions
- Cashback Withdrawals
- Publish

Last Updated 3 years ago