Frequently Asked Questions
How to send push notifications to users
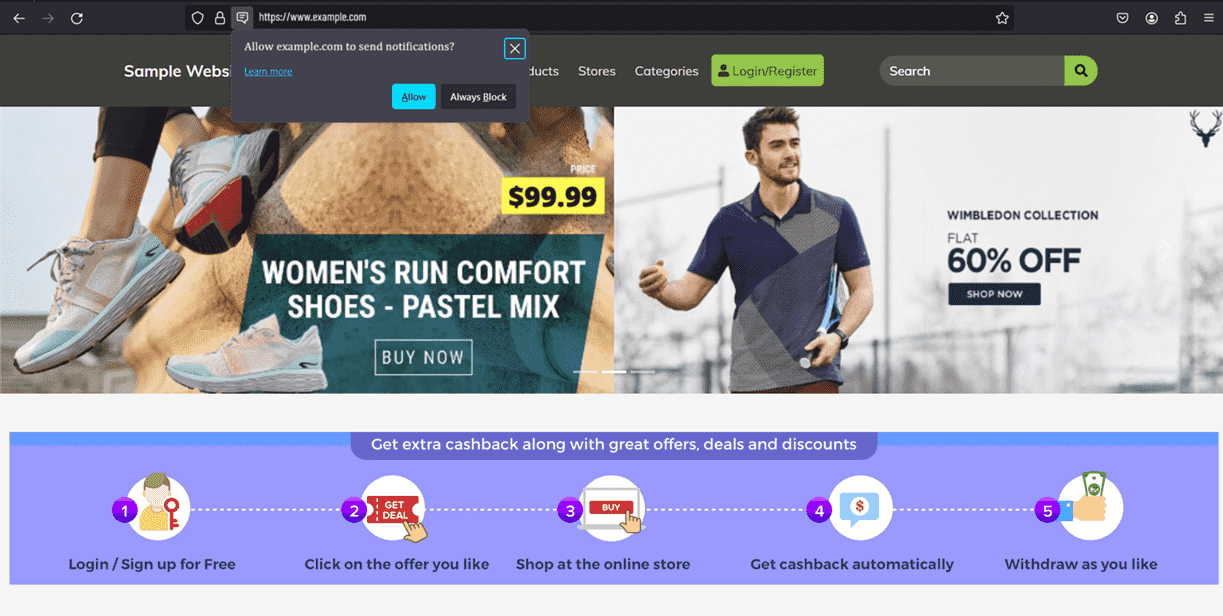
The browser push notification are actionable messages that you can send to a visitor’s device. These messages can be personalized according to the users which would help you to engage, re-engage and retain website visitors!
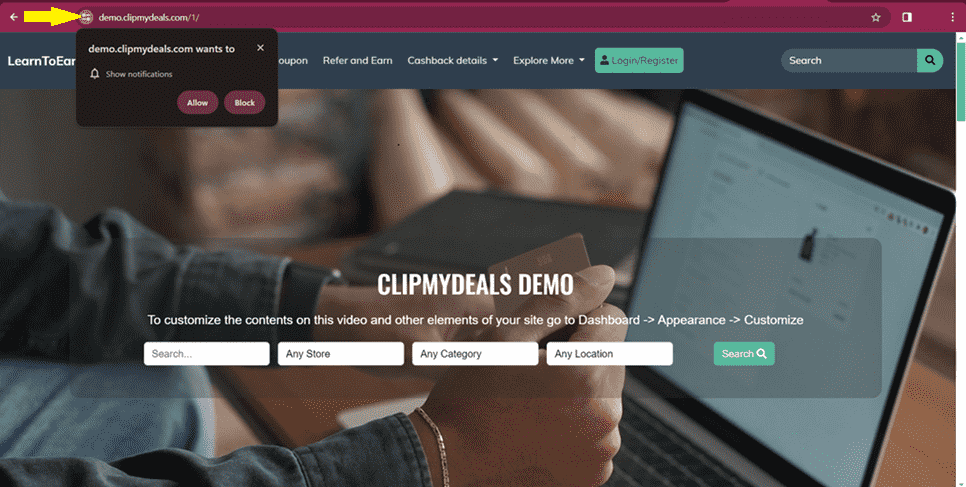
The only permission it requires is for your users to have enabled/allowed the notification when he visits your website the very first time.
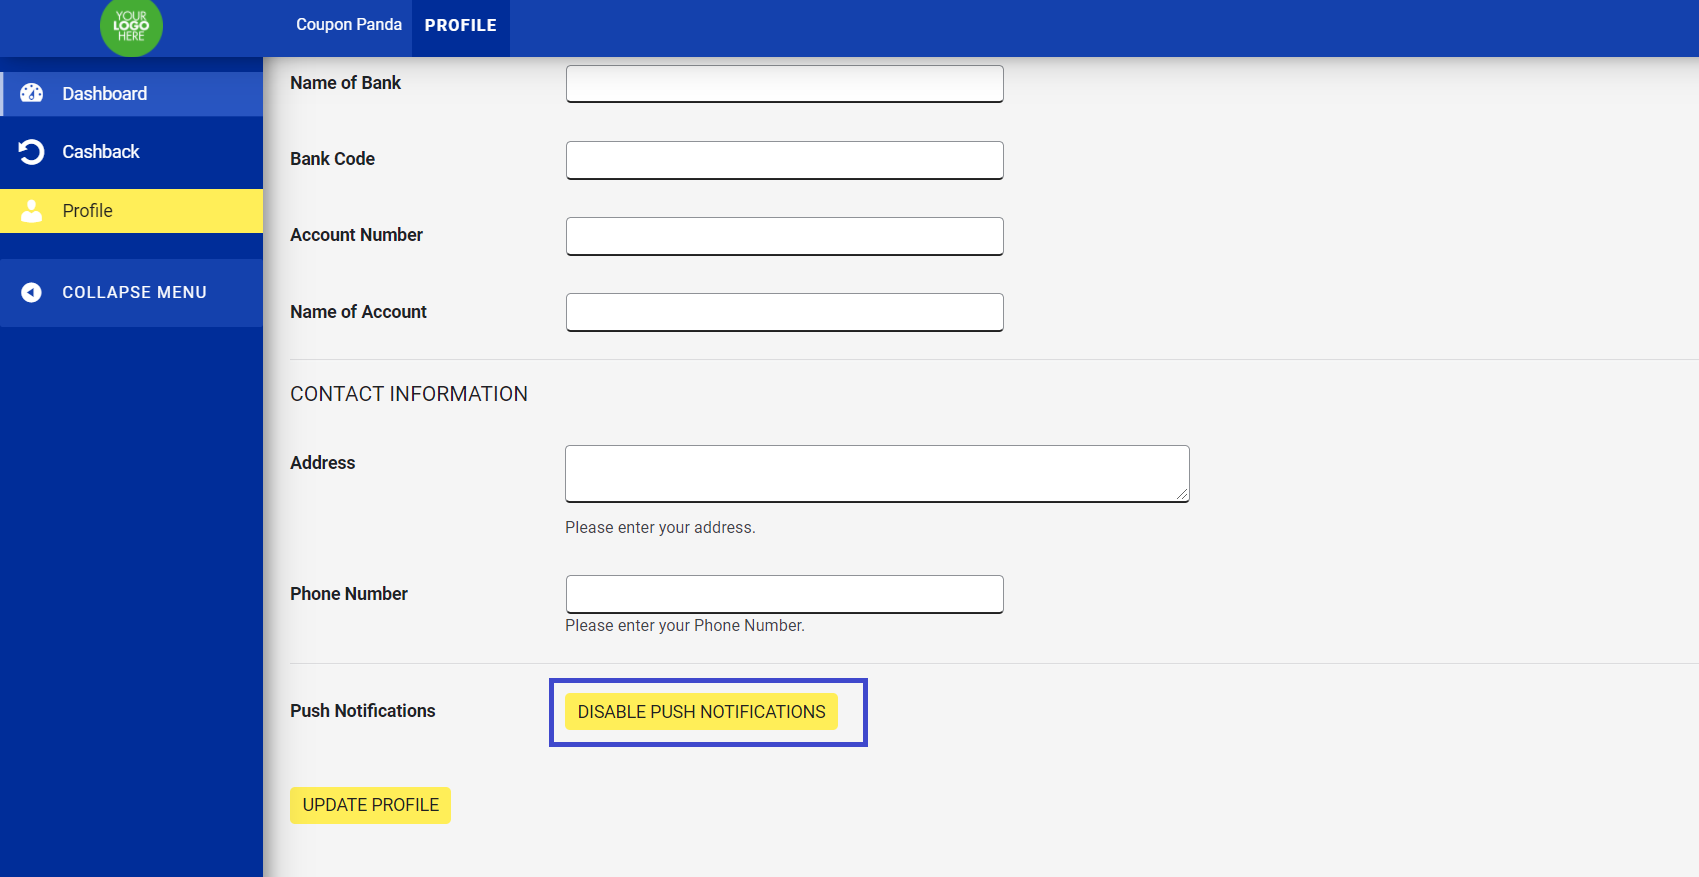
If the user has already registered on your website, he can choose to enable or disable push notifications by following the below steps:
WordPress Dashboard > Profile > Push Notification > Enable/Disable
You can also choose whether you want to show your users the toggle for notification requests as shown in the screenshot below.
Here is how you can do that:
- Login to your WordPress admin panel > appearance > customize > other customizations > Notification requests
- Select enable/disable
- Click on publish
In case you wish to set a customized logic for when you want to show the toggle for notification requests, you may call the below script
cmdHandleNotification()
For every customer that visits your website and enables/allows notifications, a new subscription is created - whether the user has registered or not.
You can delete the subscription manually if you want, to do this you have two options :
- Delete option at the right-hand corner of each subscription
- Select multiple subscription IDs by "ticking" the box on the left-hand corner, then click on bulk actions drop-down, select "Delete". Then click on "Apply"
Here is how you can create a new notification:
Go to WordPress admin panel > Notifications > Add New.
Now, fill in the details that you want to show in the push notification:
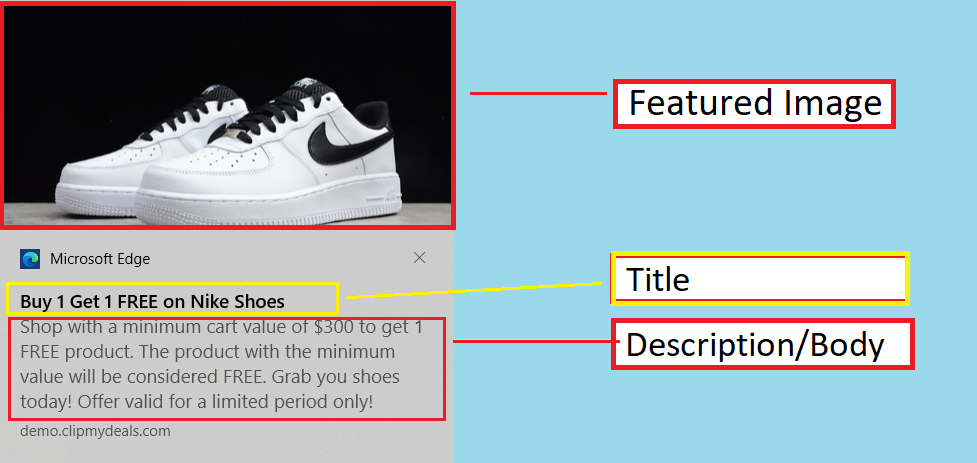
Title: The title would appear in Bold letters. The title should attract the user’s attention. You can experiment with statements vs. questions, word counts, and much more to see what works the best for you. We recommend keeping the title short and crisp!
Body: The description is the actual message sent to users. It should be short and describe the immediate action that the subscriber needs to take. The recommended character limit is 120 characters. Do note that, even if you have added HTML to customize the description, it would still appear to be normal text to the user.
You can also add a featured image to this notification to make it even more attractive.
On the right hand panel > Notification > Featured image > Set featured image.
- You can either upload an image from your device
- Or you can also select it from the media files
With this, you have successfully created a push notification that would be sent across.
Now you need to figure out, whom you want to send this message to
Send to users: If you select “All users” this notification will be sent to all the users that have enabled notification for your website. Alternatively, you can also select the specific registered users to whom you want to send personalized messages. If you want to send a notification to multiple registered users but not all, then you can select them by Ctrl + Click
URL Notification: Add the landing page URL, the user would be redirected to this page when he/she click on the push notification
Now click on "publish" to send the notification.
You can also check if a notification was sent to the users or not.
Go to WordPress dashboard > Notification > Notification logs.
If a user has visited via website and mobile too. Then new subscription will be created respectively.
- If the status is Green then the notification was sent successfully
- If the status is Red then the notification was not delivered. It would also highlight the reason for failure
You can also delete the notification logs:

By default after the logs that are older than 30 days will be deleted.
You can change the setting by simply changing the number of days field. If you want to clear all the notification logs then you can click on "Clear All". Once the action is complete, the data can not be retrieved back!